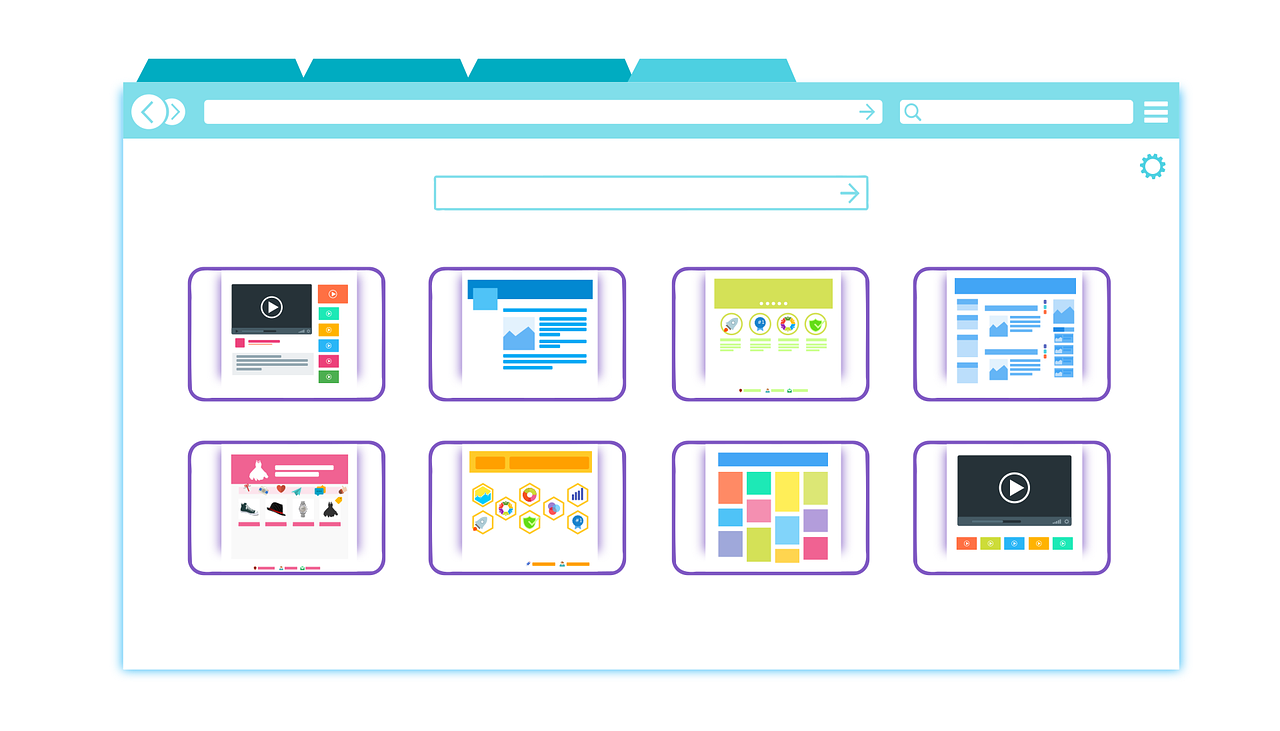
Popunder ads open in a new browser window or tab behind the one a visitor is already looking at, so they see it only after they close or switch away from the main page. If you're wondering how to set up popunder ads on your site, the short version is: pick a network that supports the format, place one JavaScript tag, set a frequency cap before you launch, and watch fill rate and RPM for the first week rather than raw impression counts. The format is simple to deploy — that's part of its appeal — but the settings you choose in the first hour determine whether it earns steadily or trains your visitors to leave.
This tutorial walks through the setup from an empty ad account to a live, capped campaign, plus what to check once it's running and how to fix the most common problems.
Before you start
You'll need three things in place before you touch any code. First, an account with an ad network or platform that supports popunders — not every network does, since some restrict themselves to standard display formats. Second, access to your site's HTML, either directly or through whatever CMS or tag manager you use, because the popunder script has to load on every page you want it to trigger from. Third, a rough idea of your current traffic volume and page views per session, since that number will drive your frequency cap in step three.
It's also worth deciding, before you write any code, which pages should trigger the popunder and which shouldn't. A checkout flow or a contact form is a bad place for an interruption; a blog post or content page tolerates it better. Decide the scope up front instead of adding exceptions later.
Step-by-step: how to set up popunder ads
1. Choose a network or platform that supports the format. Not all demand sources carry popunder inventory, so confirm this before signing up. Ad networks that specialize in high-volume, direct-response verticals are more likely to support popunders than networks built around brand-safe display formats. Check the network's format list and, if you're a publisher registering ad slots, confirm there's a specific "popunder" or "pop" slot type — it's usually configured separately from banner or native slots.
2. Create the ad slot or zone in your account. Inside the network's dashboard, create a new ad zone and set its type to popunder (sometimes labeled "pop" or "tab under"). You'll typically be asked for the URL of the page where it will run and, in some dashboards, an initial frequency cap. Save the zone and copy the generated JavaScript snippet — this is the tag you'll place on your site.
3. Set the frequency cap before you go live. This is the single most important setting in the whole process. A frequency cap limits how many times the same visitor sees a popunder in a given period, usually specified per session or per 24 hours. Most networks default to something reasonable, but check it rather than assume. A cap of one popunder per visitor per day is a common, safe starting point; raising it increases impressions but also increases the chance a repeat visitor gets annoyed and leaves. There is no universal correct number — it depends on how often your typical visitor returns.
4. Install the tag on your site.
Paste the snippet just before the closing </body> tag on the pages you scoped in step one. A minimal example looks like this:
<script type="text/javascript" src="https://ad-network.example/tag/popunder.js" data-zone="123456" async></script>
If you're using a tag manager instead of editing HTML directly, add it as a custom HTML tag firing on page view, scoped to the same set of pages.
5. Scope the trigger to the right pages. If your network's dashboard supports per-zone URL targeting, restrict the popunder to content pages and exclude checkout, account, and contact pages. If it doesn't support that natively, wrap the tag in a simple conditional so it only loads where you want it:
if (!/\/(checkout|account|contact)/.test(window.location.pathname)) {
  // load the popunder tag here
}
6. Set a floor price if the network allows it. A floor price is the minimum bid the network will accept for the impression; bids below it are discarded. If your network supports programmatic demand for popunders, set a floor close to your recent average rather than guessing high — a floor set too high can quietly suppress fill without you noticing, since discarded bids don't show up as errors, just as impressions that never happened.
7. Publish and confirm delivery on one page first. Before rolling the tag out sitewide, load a single page with the tag installed, in an incognito window with ad blockers off, and confirm the popunder actually opens once. Then check the network's dashboard for a registered impression. Only after that single confirmed impression should you push the tag to every scoped page.
How to tell it's working
Once live, the two numbers to watch for the first week are fill rate and RPM (revenue per thousand pageviews), not raw impression count. Fill rate tells you what share of your popunder requests actually returned a paying ad; a healthy fill rate for a well-supported format is typically high, and a low one usually means your floor is set too high or the network has thin demand for your traffic's geography. RPM tells you whether the format is actually worth the interruption — compare it against your site's RPM from standard display formats over the same period.
A second signal worth checking is bounce rate on the pages where the popunder fires, compared to pages where it doesn't. If bounce rate rises noticeably on scoped pages after launch, the frequency cap or targeting is too aggressive for that traffic. Formats like this trade a small amount of user friction for revenue, and the Coalition for Better Ads — an industry group formed by publishers, advertisers, and platforms including Google — publishes standards for which ad experiences users find disruptive enough to abandon a site over. It's a useful benchmark even though popunders as a category sit outside their approved list; if your bounce data moves the way their research predicts, that's your signal to pull back.

Troubleshooting
The popunder never opens, even with blockers off. Check the browser console for a script error first — a malformed or truncated tag is the most common cause. If the script loads cleanly but nothing happens, confirm the zone ID in the tag matches the zone you created in the dashboard; a mismatch fails silently in most networks rather than throwing a visible error.
Impressions are registering but revenue is near zero. This usually means the floor price is set above what demand is willing to pay for your traffic. Lower it in small increments and watch the fill rate response over a few days rather than changing it and judging same-day, since auction dynamics take time to stabilize.
Fill rate is low. Low fill rate on a supported format almost always traces back to either a high floor price or thin demand for your specific traffic geography or vertical. Compare your fill rate against your standard display fill rate on the same traffic — if display is filling well and popunder isn't, the floor is the more likely culprit.
Bounce rate spiked after launch. Lower the frequency cap first — this is the fastest lever and the one most likely to be the actual cause. If bounce rate stays high after that, reconsider which pages you've scoped the trigger to; checkout and account pages are the most common accidental inclusion.
Running this kind of setup by hand works fine for a single network, but it's also exactly the kind of plumbing a pooled-demand platform like Adsy exists to simplify — one tag, multiple demand sources bidding on the same popunder slot, instead of managing separate zones and floors per network yourself.
FAQ
Do popunder ads get blocked by browser pop-up blockers?
Standard pop-up blockers target windows opened via unexpected window.open() calls without a user gesture. Popunder scripts are built to open behind the current tab in response to a click elsewhere on the page, which is how most avoid standard pop-up blockers, though ad-blocking browser extensions that specifically target the format can still stop them.
How many popunders should a visitor see per day?
There's no fixed correct number — it depends on how often your typical visitor returns and how much interruption your audience tolerates. A frequency cap of once per visitor per 24 hours is a common starting point; watch bounce rate and returning-visitor rate after any change before raising it further.
Can I run popunders alongside display or native ads on the same page?
Yes. Popunders trigger on a page-level event rather than occupying visible ad space, so they don't compete with banner or native placements for layout. They do add to total ad load on the page, so keep an eye on overall page performance if you're already running several other formats.
Why is my popunder revenue inconsistent week to week?
Popunder demand tends to be more seasonal and geography-dependent than standard display demand, since it's concentrated among direct-response advertisers whose budgets shift with campaign cycles. Comparing RPM over a rolling 30-day window rather than week to week gives a more stable read.
Is the popunder format going away?
It hasn't disappeared, but the industry trend — reflected in standards from groups like the Coalition for Better Ads — has pushed toward less disruptive formats over the past several years. Whether it stays viable for your site depends more on your specific audience's tolerance than on any industry-wide timeline.
Conclusion
Setting up popunder ads is a short technical task — create the zone, install one tag, set a frequency cap, confirm delivery — but the settings you choose at launch, especially the frequency cap and floor price, do more to determine long-term performance than anything you'll adjust afterward. Treat the first week as a measurement period, not a victory lap: watch fill rate and RPM against your existing formats, and watch bounce rate on the pages where it fires.
Key takeaways
- Confirm your network supports popunders and create a dedicated ad zone before installing any tag.
- Set a frequency cap before launch — it's the setting most likely to protect user experience if you get it right early.
- Install the tag only on scoped pages, excluding checkout and account flows.
- Judge success by fill rate and RPM compared to your existing formats, not by raw impression count.
- Watch bounce rate on triggered pages for the first week and pull back the frequency cap if it rises.